
Use the Dashboard Report Templates feature to customise the format of your dashboard reports. At the Admin Level Control Panel, select Reporting > Dashboard report templates.
This page contains the following tabs:
- Templates - Lists all custom templates (and any copies made from the Recommended Templates tab)
- Using the action menu to the left of each template listed, you can edit, remove, copy templates, and make one the default template used
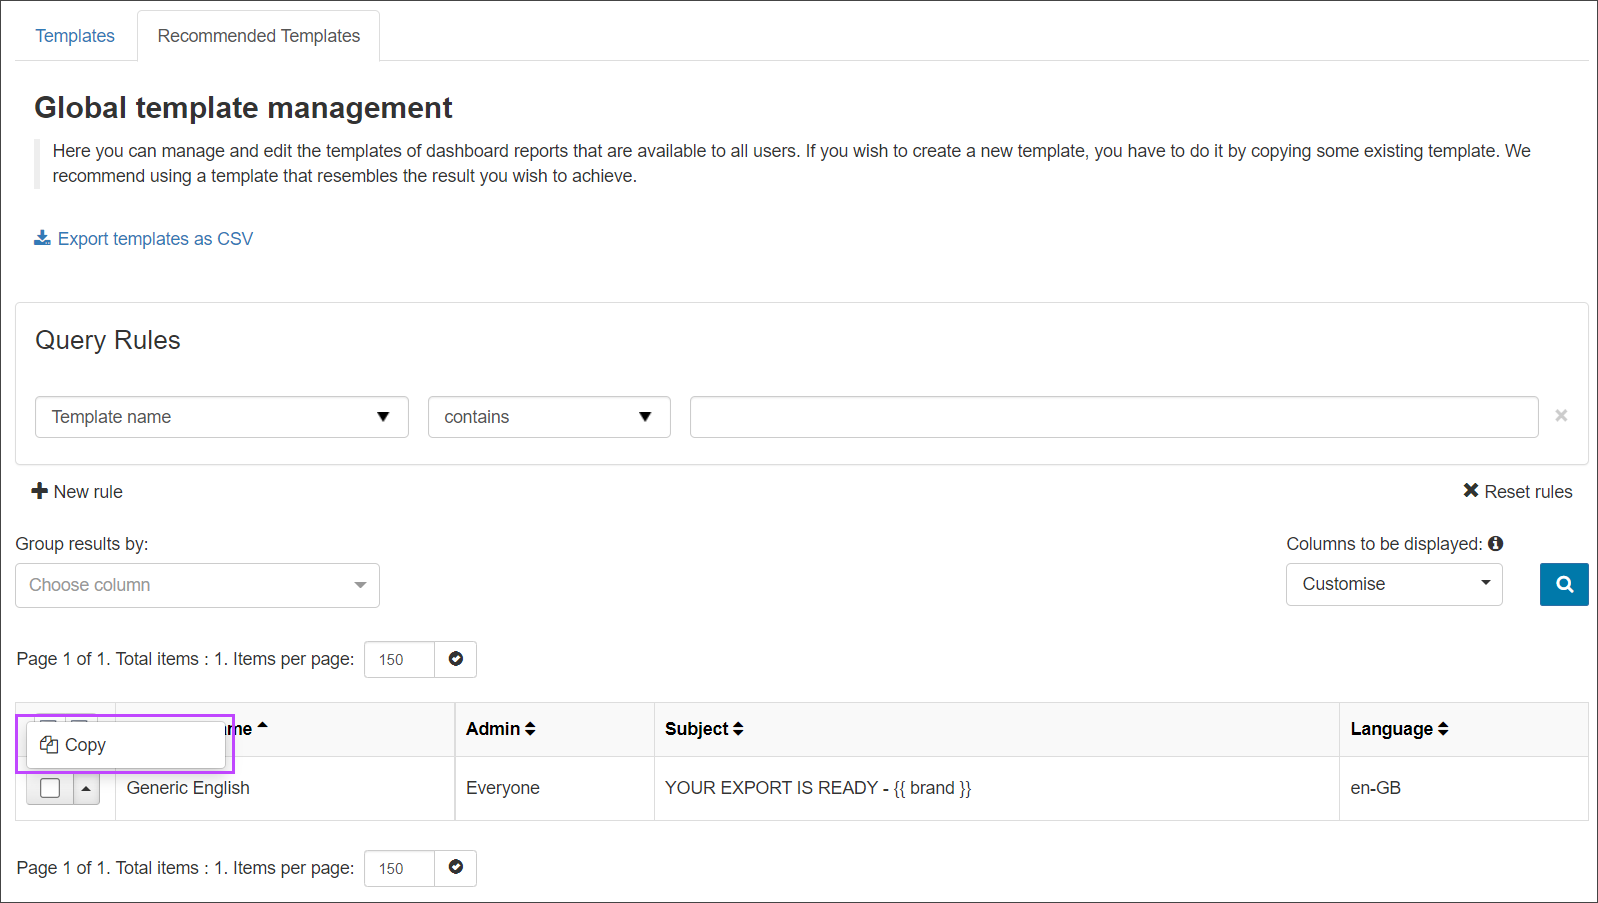
- Recommended Templates - The Global template management page contains default templates available to all users. Use these templates to base your own custom ones on
- Using the menu to the left of each template listed here, you can copy each template and view all incoming and outgoing Email Scout Reports that use each template. Copying a template in this tab pastes a copy into the Templates tab
Create a Copy of an Existing Template
- Login to Mail Assure as an Admin Level user
- Select Reporting > Dashboard report templates
- You can copy a template from the Templates or Recommended Templates tabs by selecting Copy from the action menu to the left of the template you want to copy:
- The Copy Dashboard Report template dialog opens
- Replace the copied template name with a new name in the Template name field
- In the Admin field enter the Admin user for which this template applies
- Select the Language the report is written in
This does not provide a translation of the report, and is instead intended as a way to note the language used
- Provide the Subject which will be given in the email received
- Use the HTML and Plain tabs to add your template format
- HTML tab - content here will be displayed in the text/html version of the report which is the default for most email clients
- Plain tab - content here will be displayed in the text/plain version of the report. Older or limited email clients will use this view
- You can add variables from the set listed in the Variables reference panel to the right of the page
- Click Save. The new template is placed in the Templates tab irrespective of the tab from which it was copied
Create a New Template
- Login to Mail Assure as an Admin Level user
- Select Reporting > Dashboard report templates
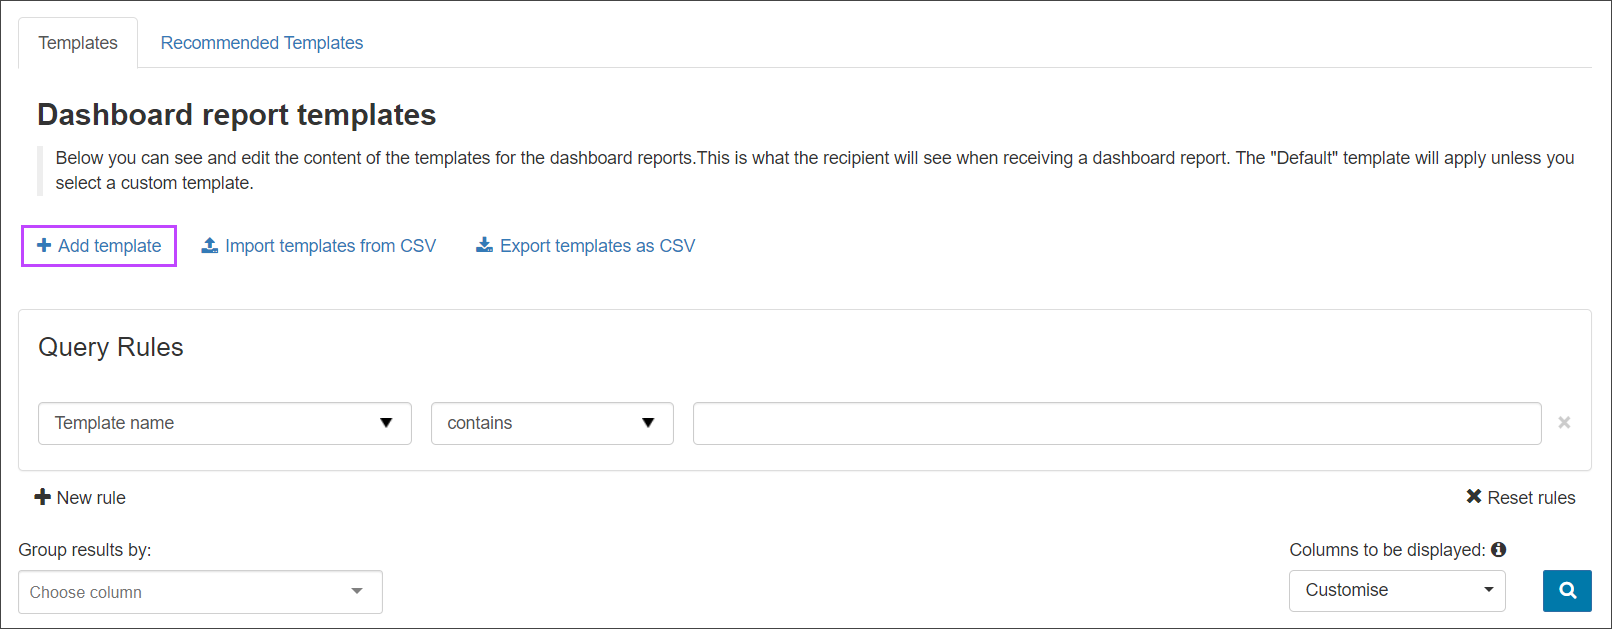
- You can create a new template in the Templates tab by selecting Add Template
- The Add Email Scout Report template dialog opens
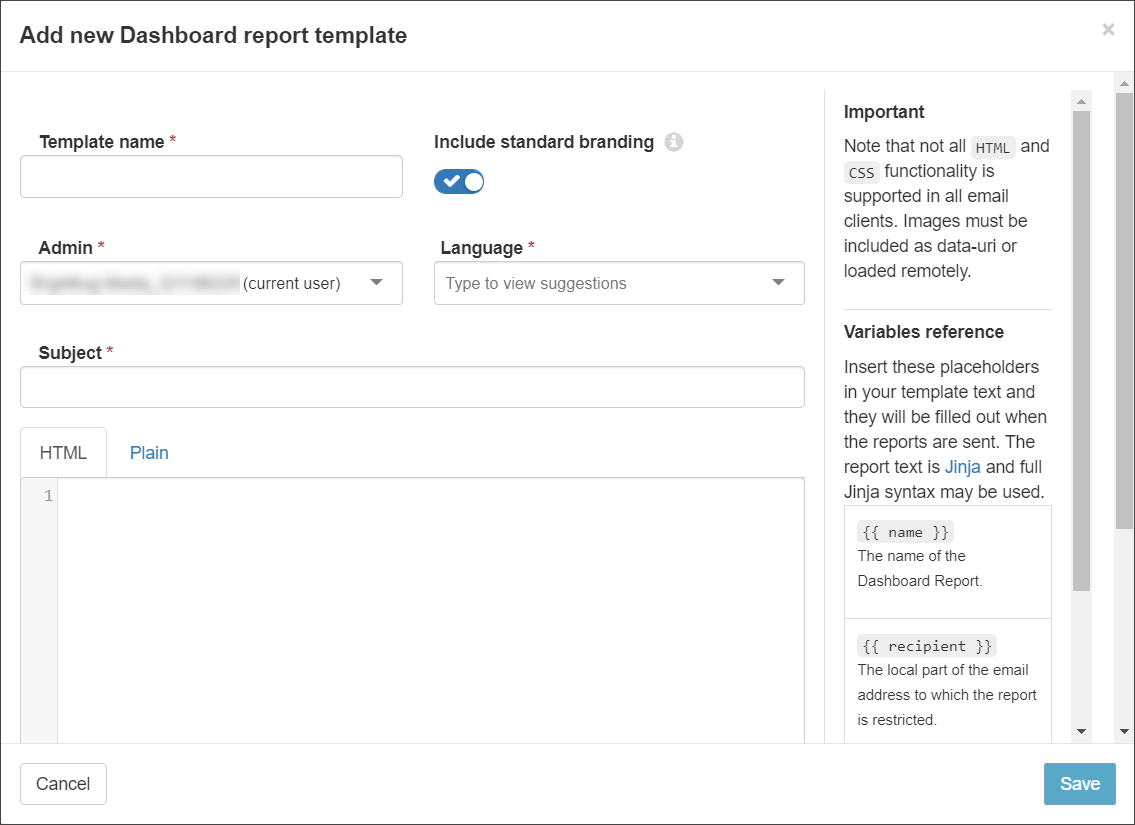
- Give the template a name in the Template name field
- Slide the toggle to Include standard branding if you require this to be enabled
- In the Admin field enter or select the Admin user from the dropdown for which this template applies
- Select the Language the report is written in
This does not provide a translation of the report, and is instead intended as a way to note the language used
- Provide the Subject which will be given in the email received
- Use the HTML and Plain tabs to add your template format
- HTML tab - content here will be displayed in the text/html version of the report which is the default for most email clients
- Plain tab - content here will be displayed in the text/plain version of the report. Older or limited email clients will use this view
- You can add variables from the set listed in the Variables reference panel to the right of the page
- Click Save. The new template is placed in the Templates tab
If Branding is enabled, the option for Include Standard Branding will be displayed in the add wizard. If Include Standard Branding is enabled, the brand logo or name will be added to the top of the generated message. If this is disabled, the message will be white-labeled, or custom styled if styling is added within the template.
Edit Existing Templates
To edit an existing report:
- Go to Reporting > Dashboard report templates > Templates
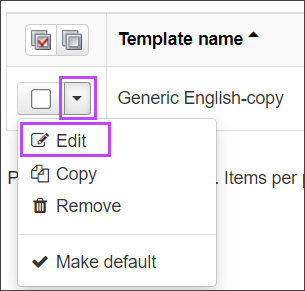
- Find the template you wish to edit
- Click the dropdown arrow to the left of the template name and select Edit
- Make any changes to the report as required
- Save the changes made

If Branding is enabled, the option for Include Standard Branding will be displayed in the edit wizard. If Include Standard Branding is enabled, the brand logo or name will be added to the top of the generated message. If this is disabled, the message will be white-labeled, or custom styled if styling is added within the template.